


Hello Everyone 👋 In this blog, we are going to deploy a simple Node.js project built on an EC2 instance using Jenkins.
What are we going to learn from this Project?
Set up Jenkins on AWS EC2 instance.
Create a security group for Jenkins.
Connect to Jenkins instance using EC2 security groups
Install Jenkins on the EC2 instance
Creating a Dockerfile
Manage some Jenkins plugins and learn about Webhooks works
Create a job for automating CI/CD deployment
How to integrate Jenkins and GitHub
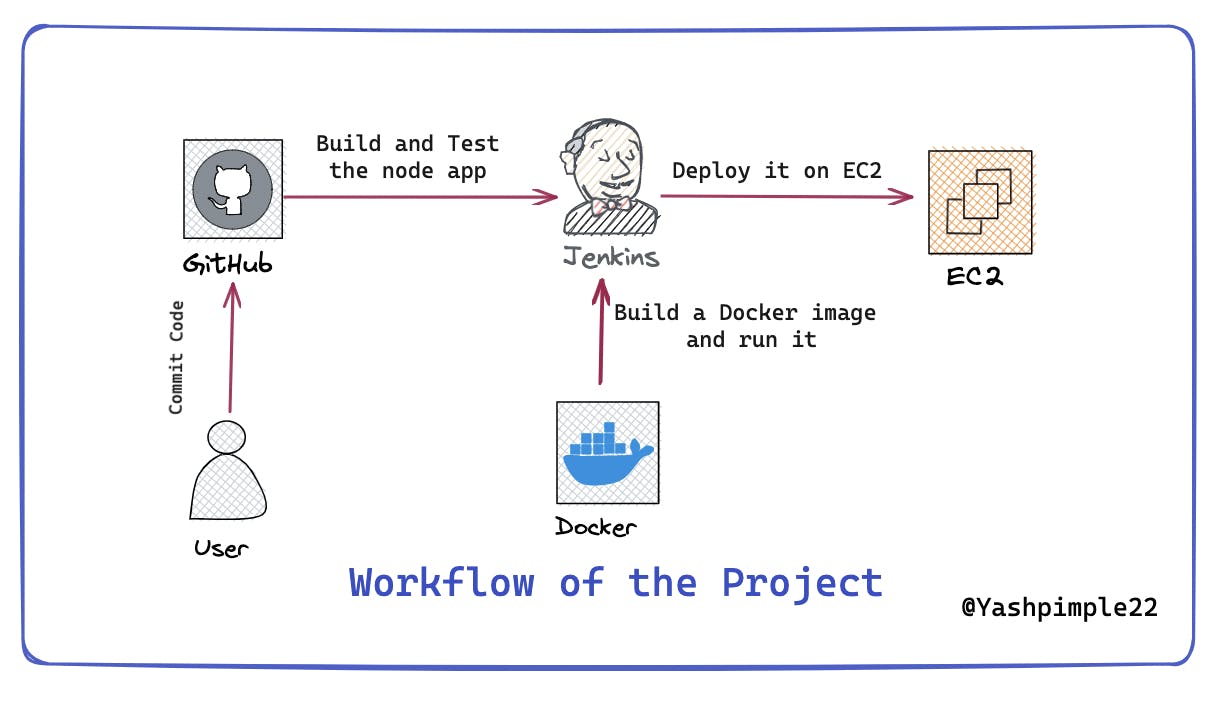
Here's the Workflow for our Project ⬇️
Github Repo: Repository
Note: Before getting started with the Project you need to have an AWS Tier account and for setting up your AWS account if you are using it for the first time, you can check out this video
So let's get started
Set up Jenkins on AWS EC2 instance
Let start by creating an EC2 instance and running Jenkins on it
Search for EC2 in the Search bar on the top and click on it

Now let's launch an instance by clicking on 'Launch instances'

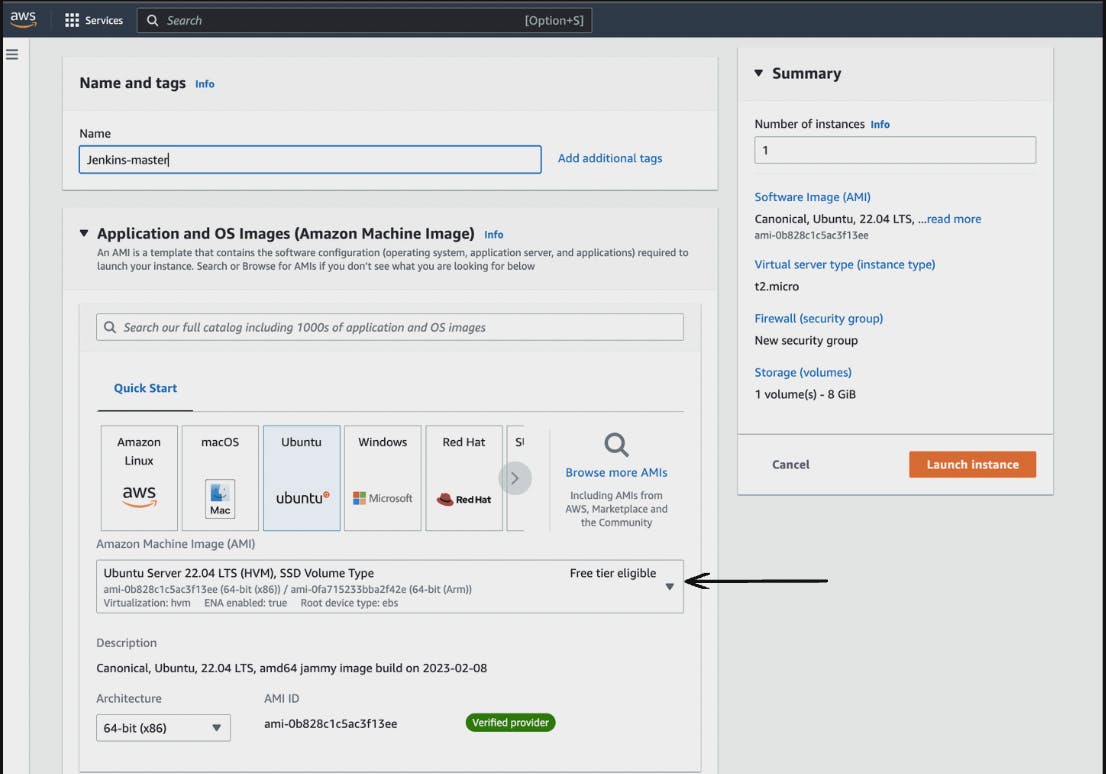
Now, enter some details for your instance, name it 'Jenkins-master'
I am opting for Ubuntu Server(free tier) here.
Make sure that the selected server you are opting for, lies in the free tier
Choose the size of the instance "t2.micro" or anything that lies in the free tier.
And now Let's create a key pair for your instance, name it
aws-jenkinschoose ".pem", if you are going to use SSH to connect to your instance, or ".ppk" if you are using putty & download it and now launch the instance.
And Wait for the Status Check to complete (Running)

Now it is time to Connect of instance(Server)
Click on “Connect” and select the "EC2 instance connect” option.

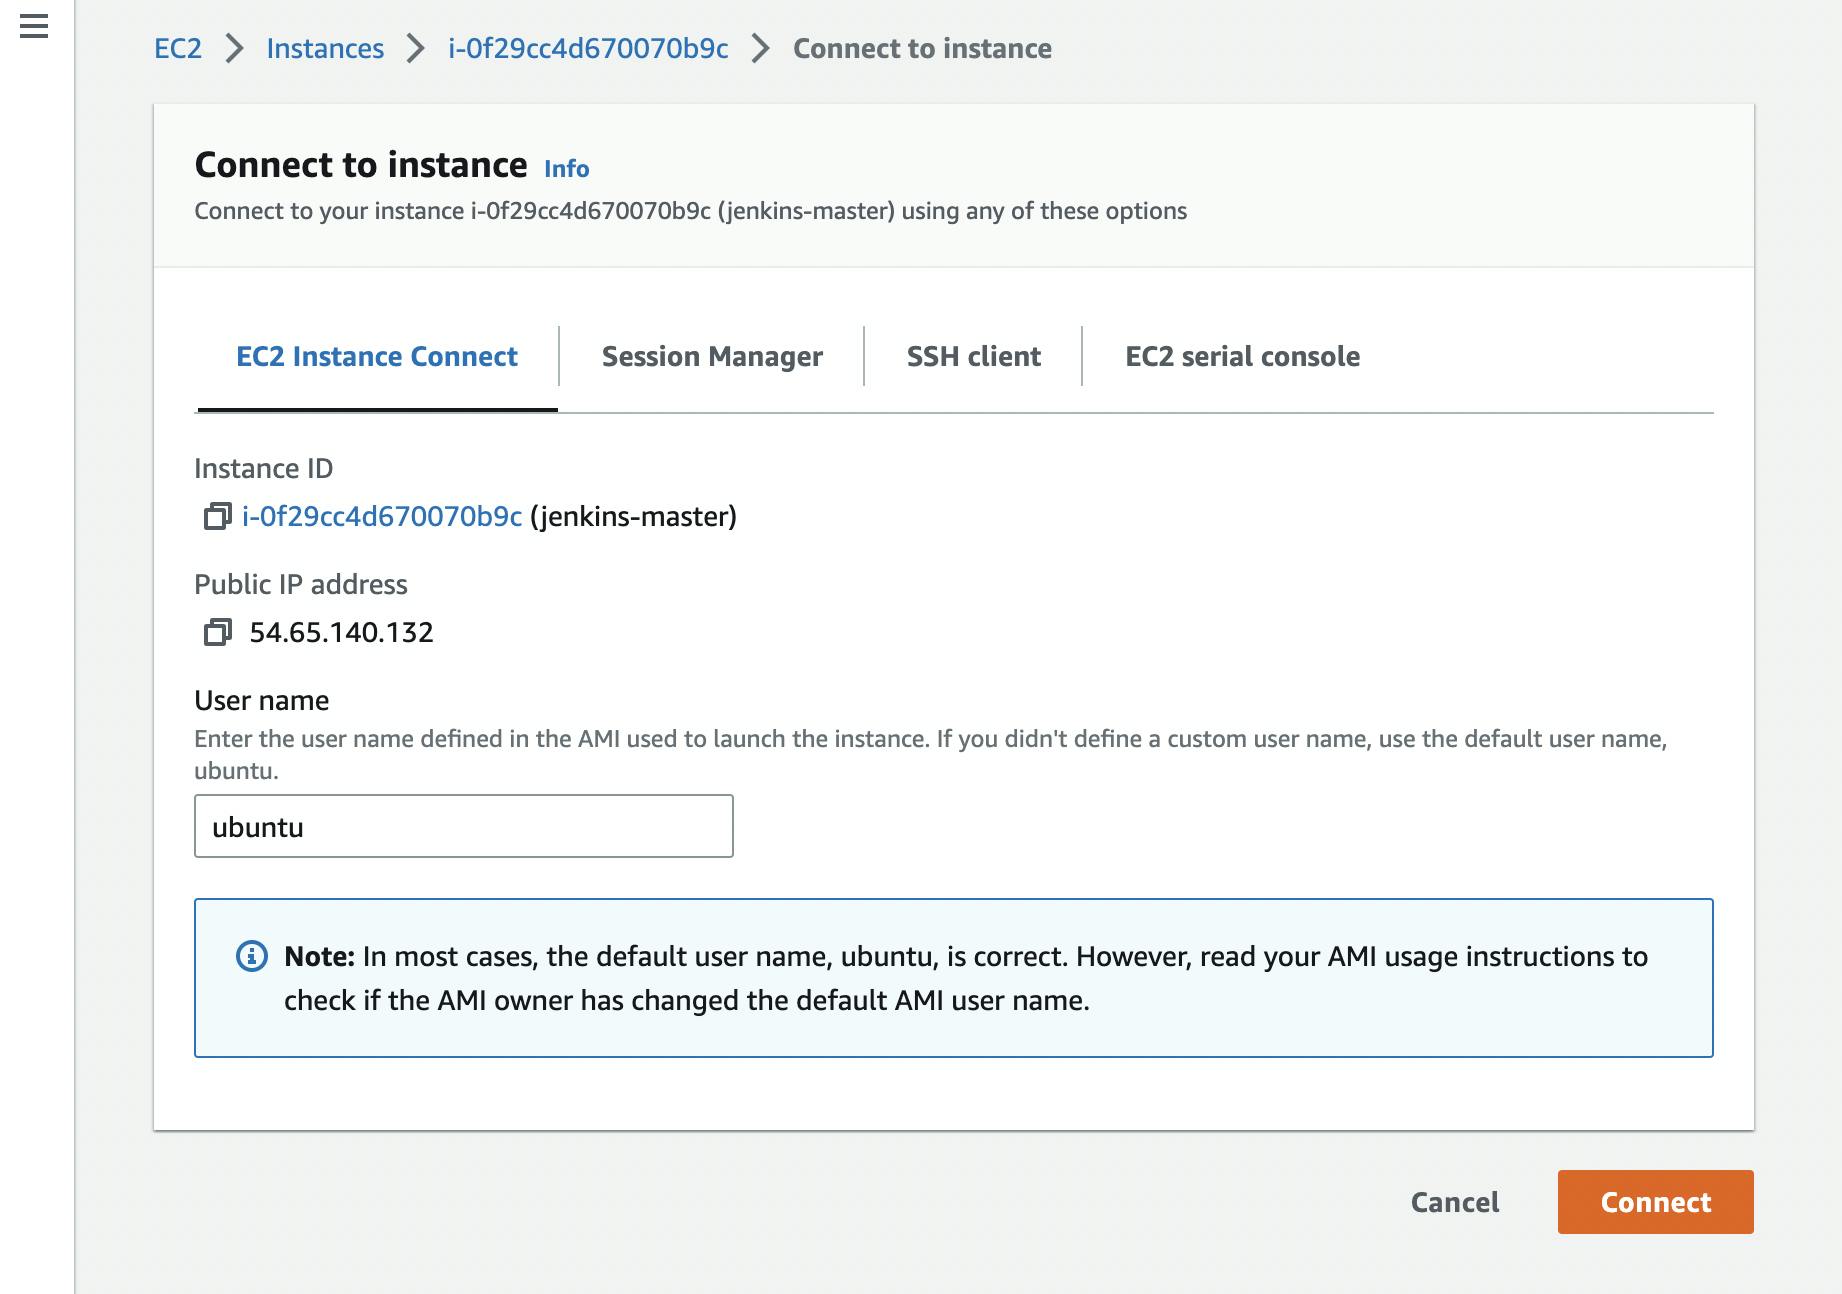
Congratulations, you have now connected to the instance
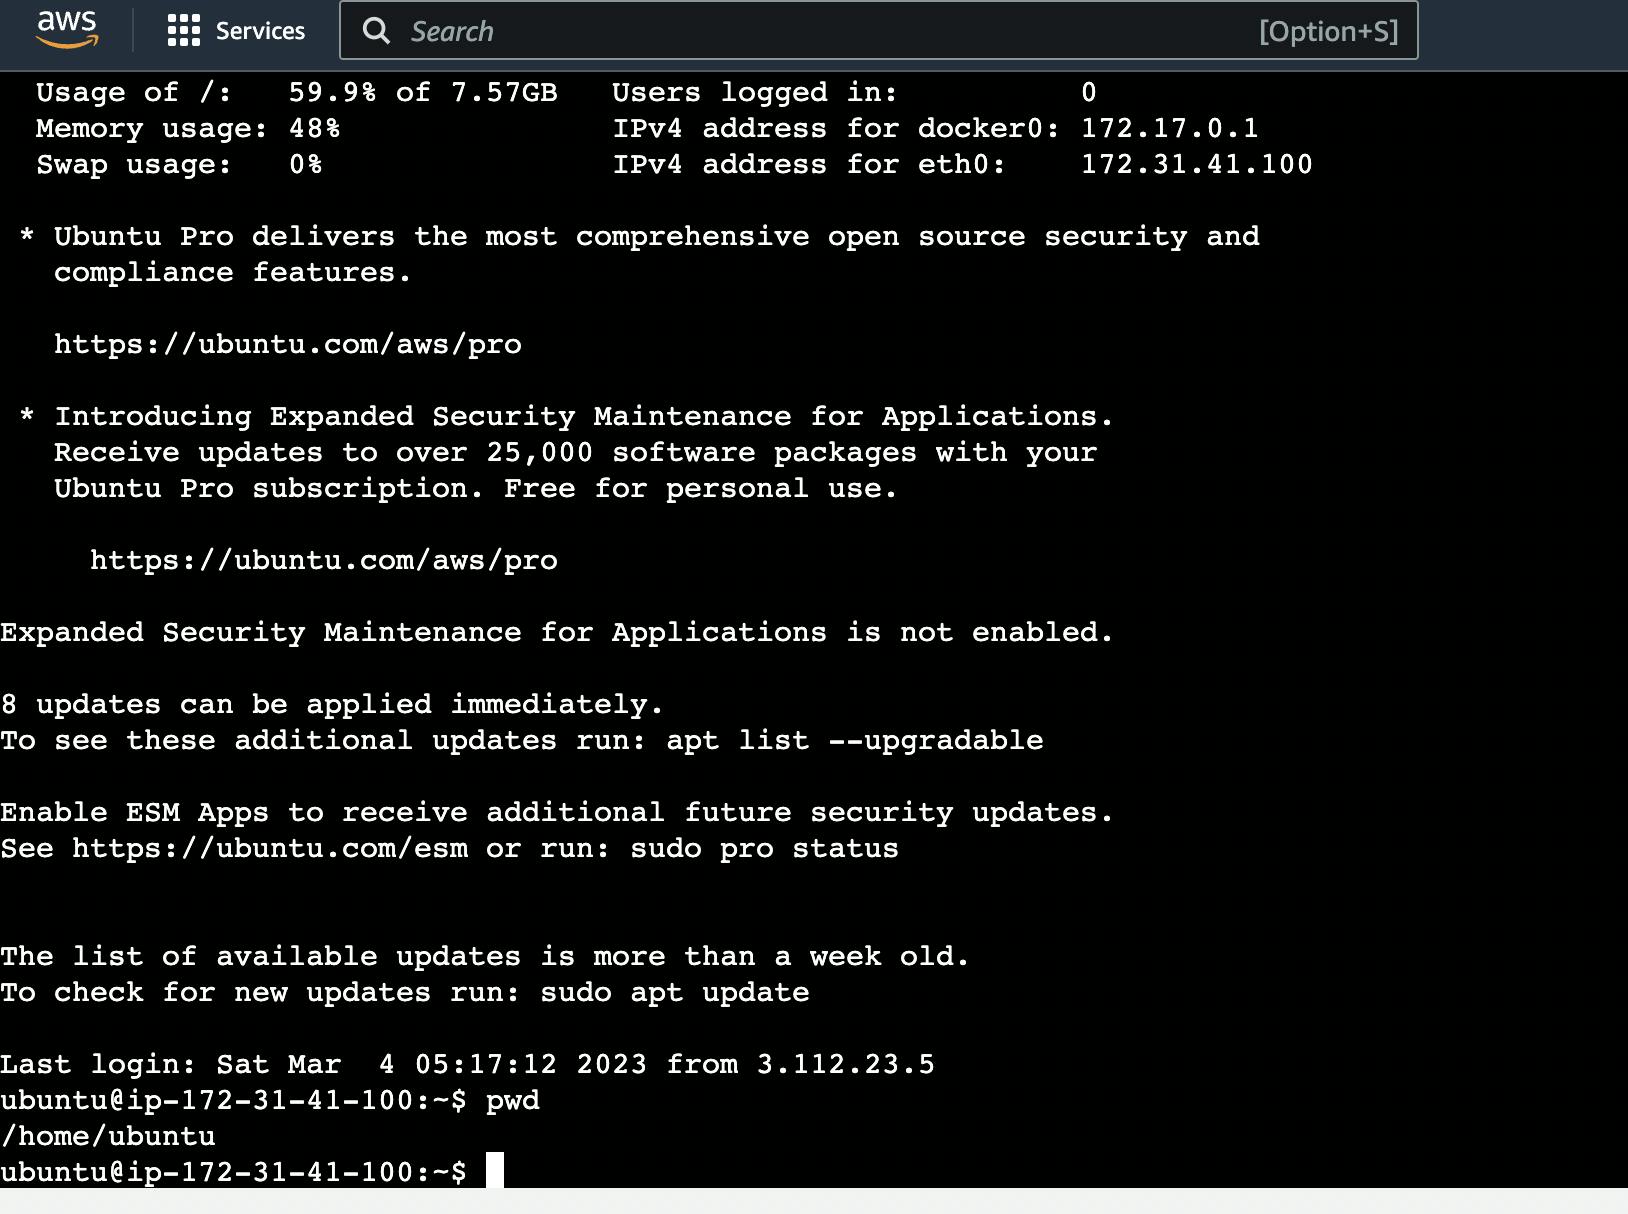
Install Jenkins on your Instance
We are using
sudoit as a prefix with every command, you can also dosudo -suthis in the beginning to avoid that.Enter the command, for a quick update of all the software packages on your instance
Update your system
sudo apt updateInstall java
sudo apt install openjdk-11-jreValidate installation
java -versionIt should look something like this
openjdk version "11.0.12" 2021-07-20 OpenJDK Runtime Environment (build 11.0.12+7-post-Debian-2) OpenJDK 64-Bit Server VM (build 11.0.12+7-post-Debian-2, mixed mode, sharing)
Install Jenkins
Just copy these commands and paste them onto your terminal.
curl -fsSL https://pkg.jenkins.io/debian/jenkins.io.key | sudo tee \ /usr/share/keyrings/jenkins-keyring.asc > /dev/nullecho deb [signed-by=/usr/share/keyrings/jenkins-keyring.asc] \ https://pkg.jenkins.io/debian binary/ | sudo tee \ /etc/apt/sources.list.d/jenkins.list > /dev/nullsudo apt-get updatesudo apt-get install jenkinsStart Jenkins
sudo systemctl enable jenkinssudo systemctl start jenkinssudo systemctl status jenkins
Now copy the public IP address of the Jenkins instance, which is present in the details of the instance
Enter this IP address with the port number, i.e., "
<ip_address:port_number>"- "18.182.13.97:8080"

Now, get the password by entering the following command and enter it in the text box
sudo cat /var/lib/jenkins/secrets/initialAdminPasswordClick on install the suggested plugins

Go ahead and enter your username and stuff as asked
You are ready to use Jenkins🎉
Creating a Container
After running Jenkins on our host now is time to create a Dockerfile to create a Dockerfile we need to install it first docker in our instance.
  sudo apt install docker.io
  sudo usermod -a -G docker $USER
FROM node:12.2.0-alpine WORKDIR app COPY . . RUN npm install EXPOSE 8000 CMD ["node","app.js"]Now its time to make docker image and container out of the docker file
  sudo docker build . -t node-app

  sudo docker run -d -p 8000:8000 todo-node-app
To see our Project running we need to add port in our security group of the instance
Follow the same steps, as followed in adding an inbound port for Jenkins, with some minor changes.
One inbound rule need to be added

Now copy the public IP address of the Jenkins master instance, which is present in the details of the instance
Enter this IP address with the port number, i.e., "
<ip_address:port_number>" - "18.182.13.97:8000"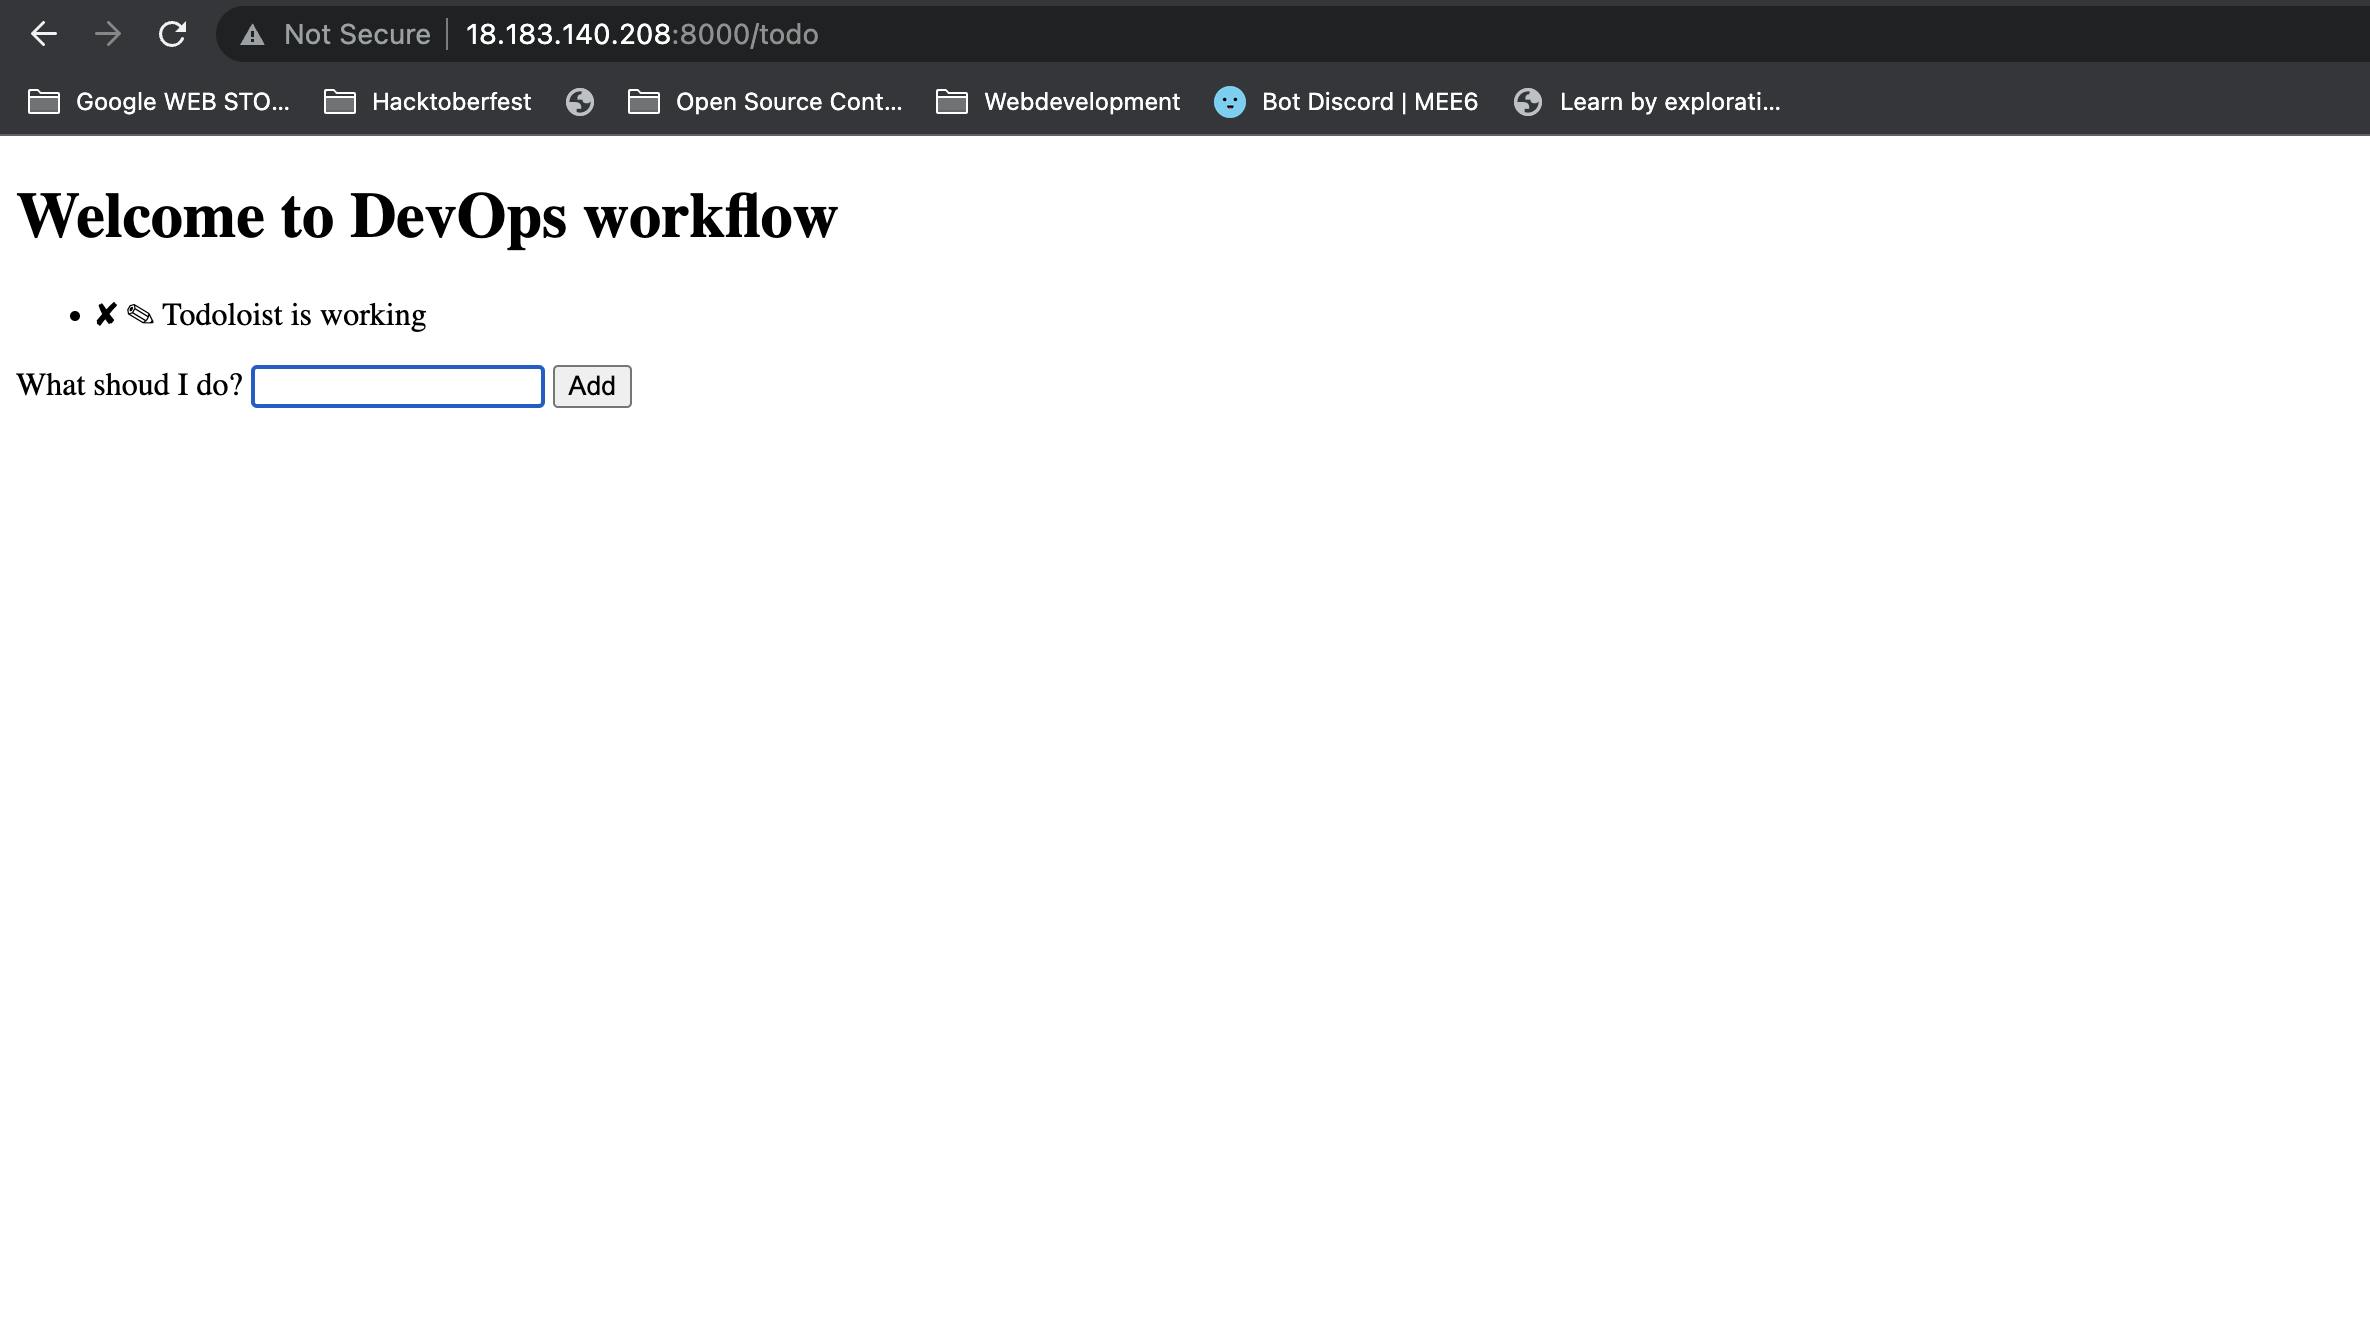
Here you have finally deployed your node project using AWS now ⬇️
Automating CI/CD using Jenkins
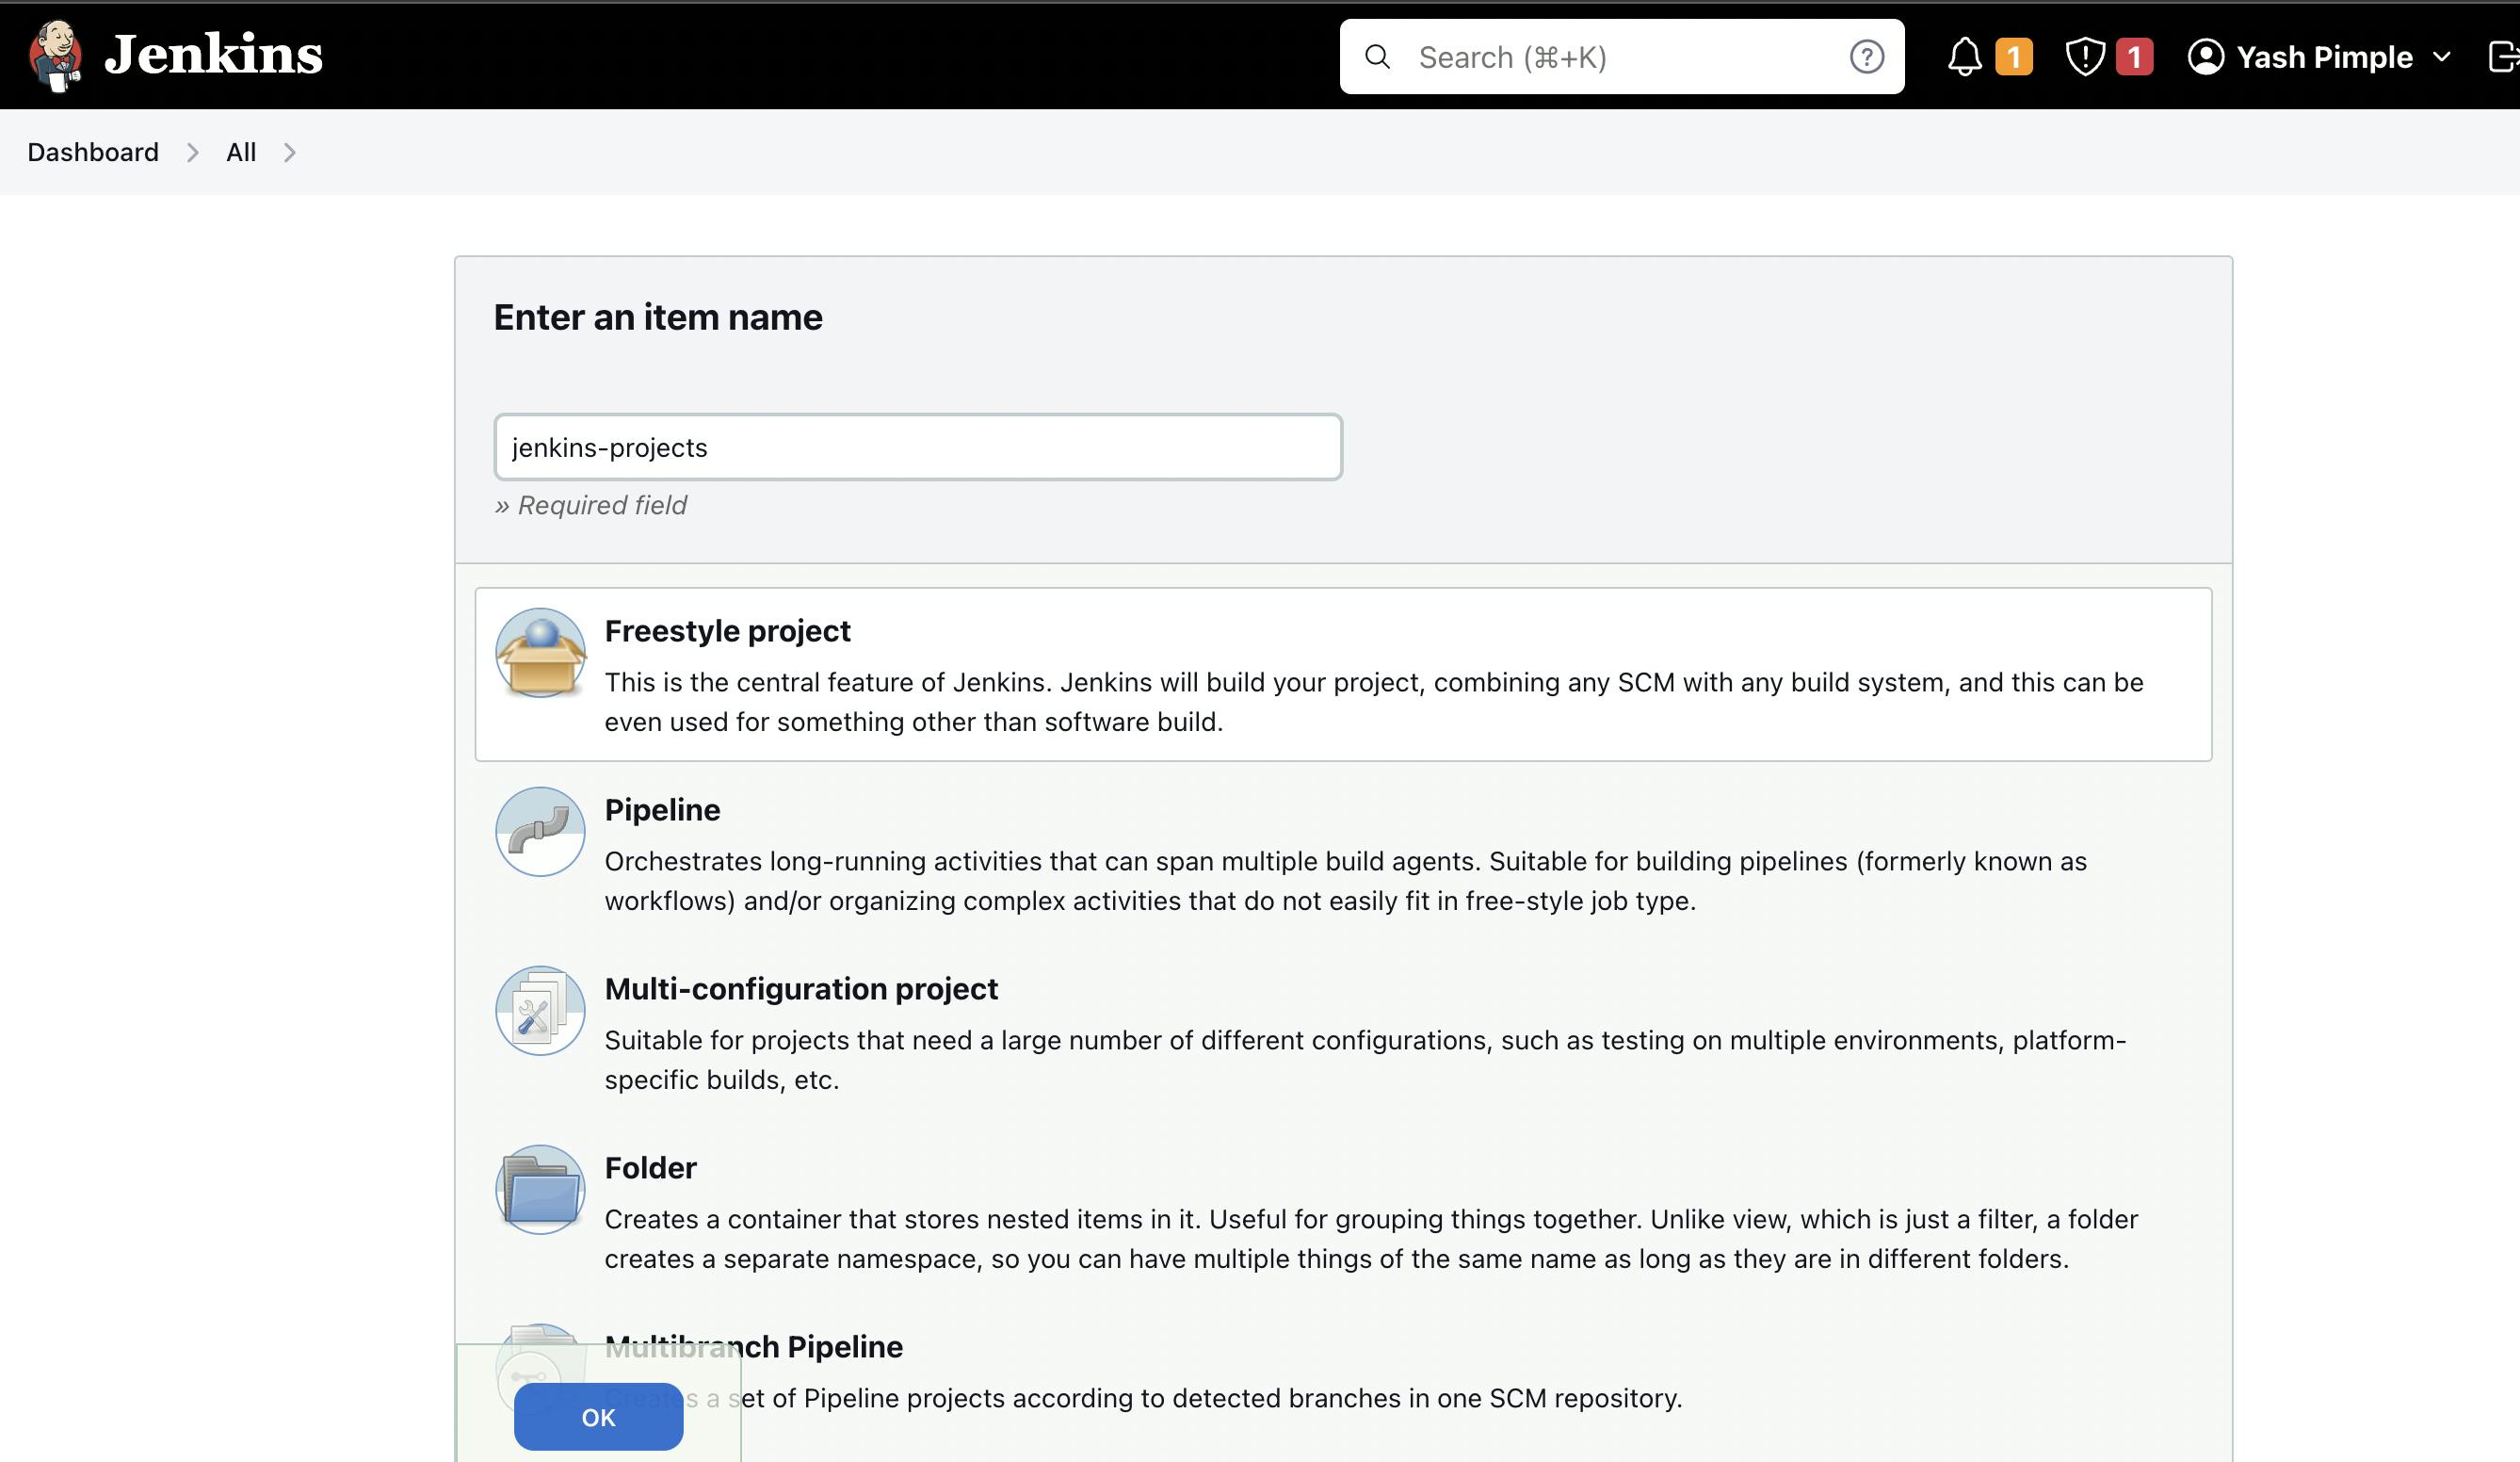
First, you need to create a New Jenkins freestyle Pipeline
After creating a Job we need to create a private and public key which will be used to integrate our GitHub and Jenkins for the Continuous Integration part.
Going back to our instance to create public and private key we need to follow up the following commands.
ssh-keygen
cd .ssh
ls
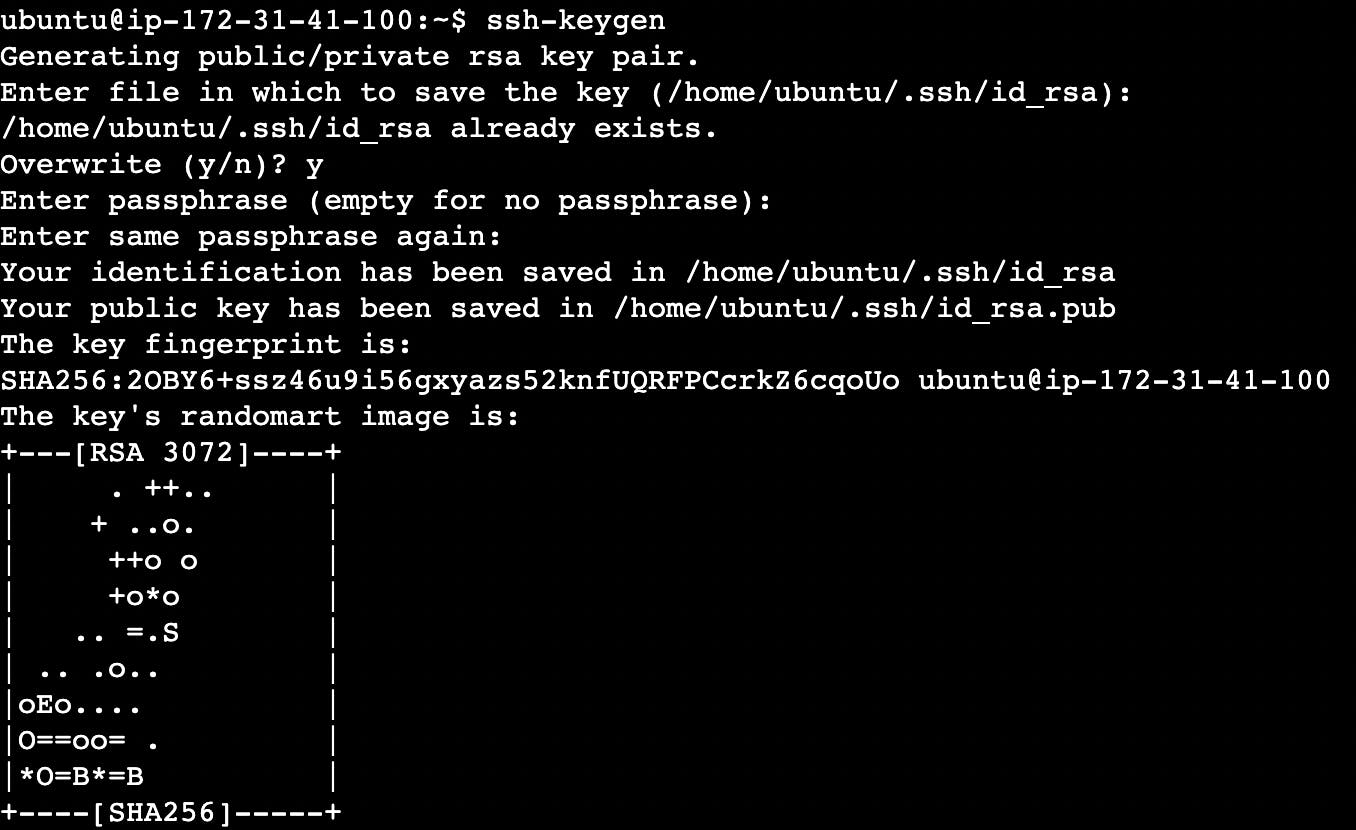
sudo cat id_rsa.pub
Where id_rsa.pub stands for Public Key and id_rsa stands for Private Key

sudo cat id_rsa

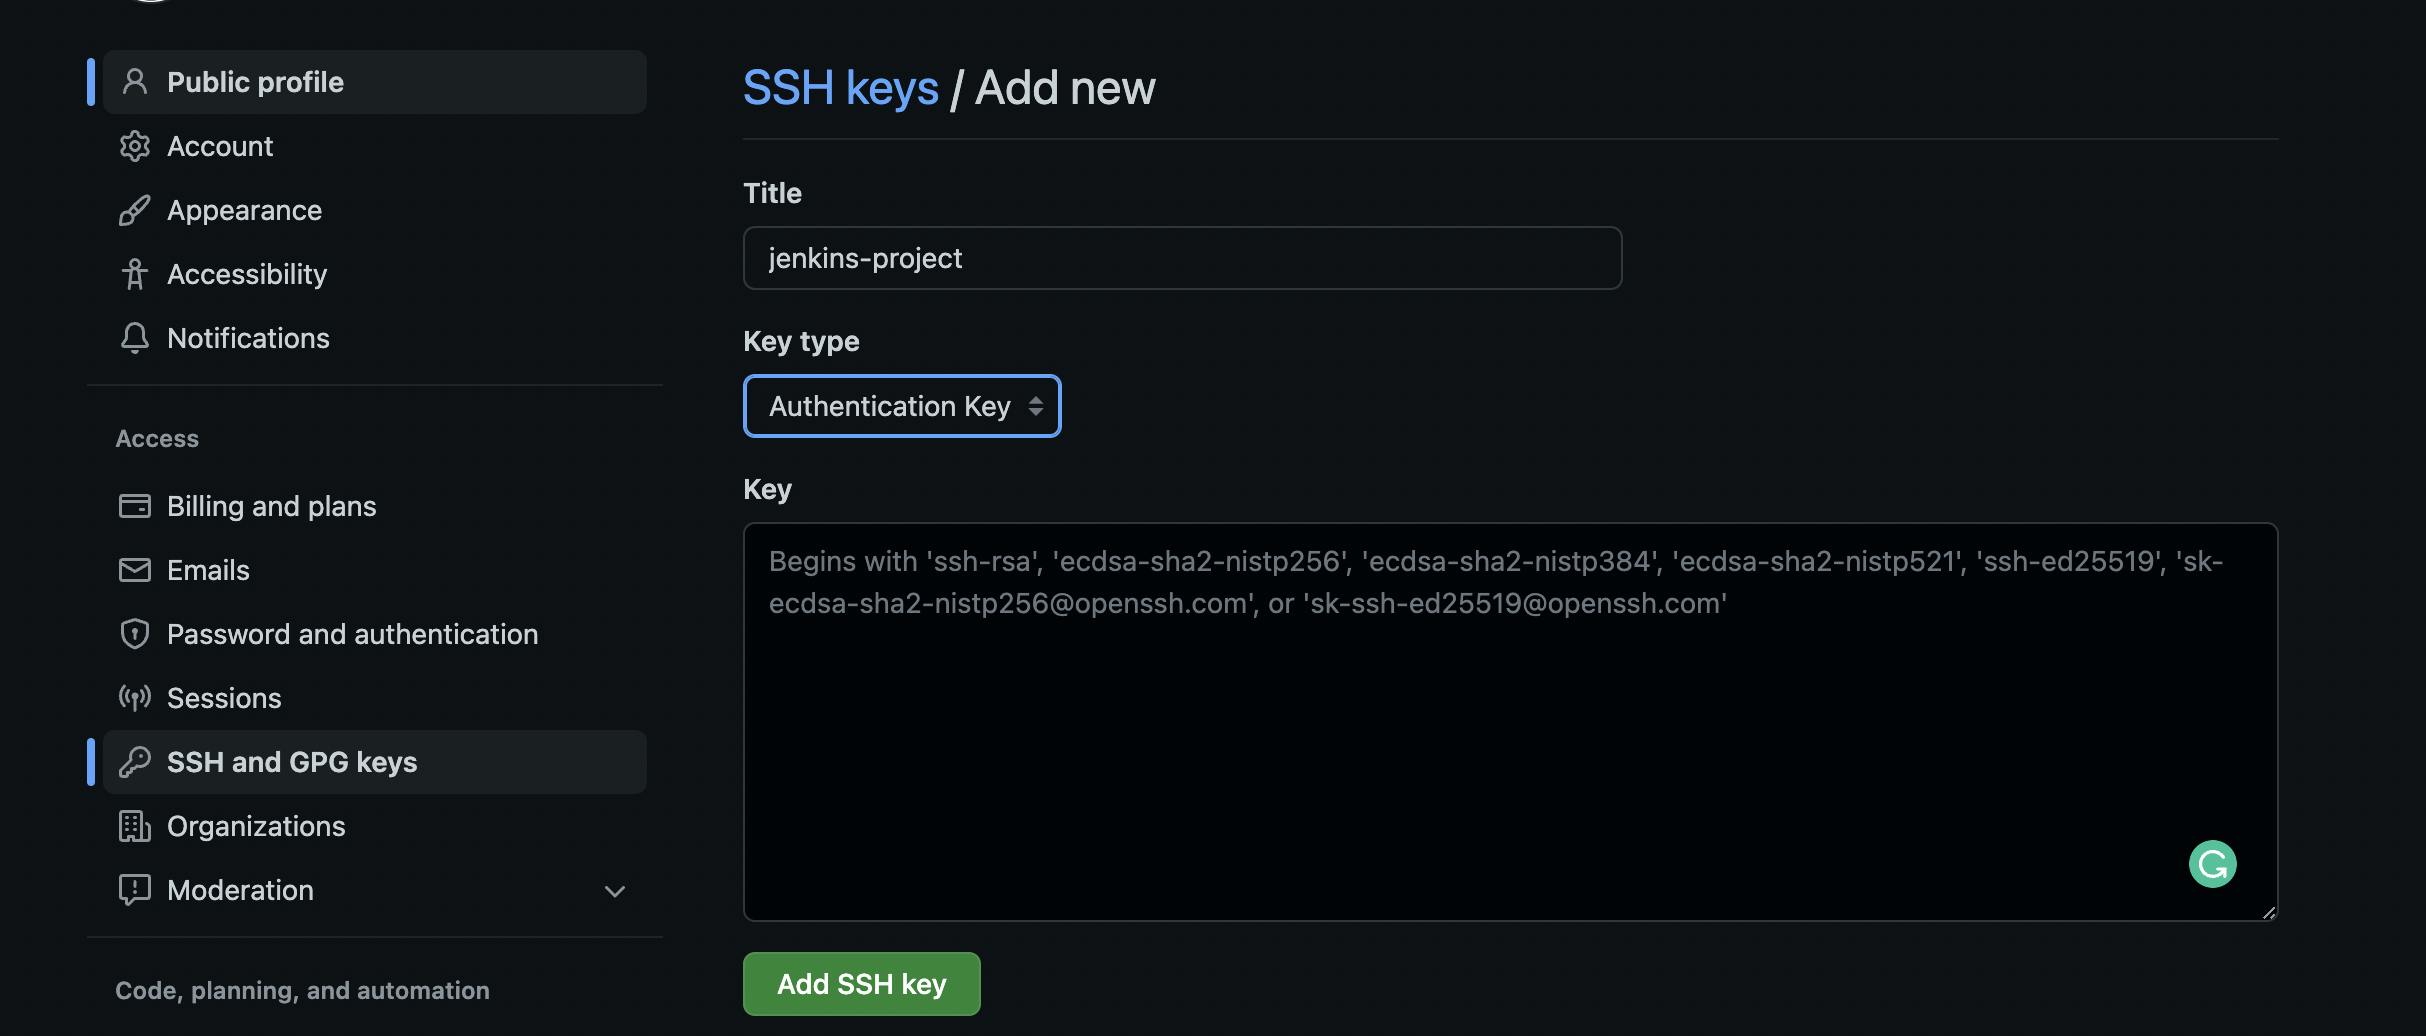
After generating the Public and Private Key now we need to connect our Jenkins with Github for that we need to create an SSH KEY.
Go the Github Settings > click on SSH and GPG keys > Give any title and paste the Public Key we generated > click on Add SSH Key
Now let's go back to Jenkins after creating the freestyle Project now we need to add the respective credentials

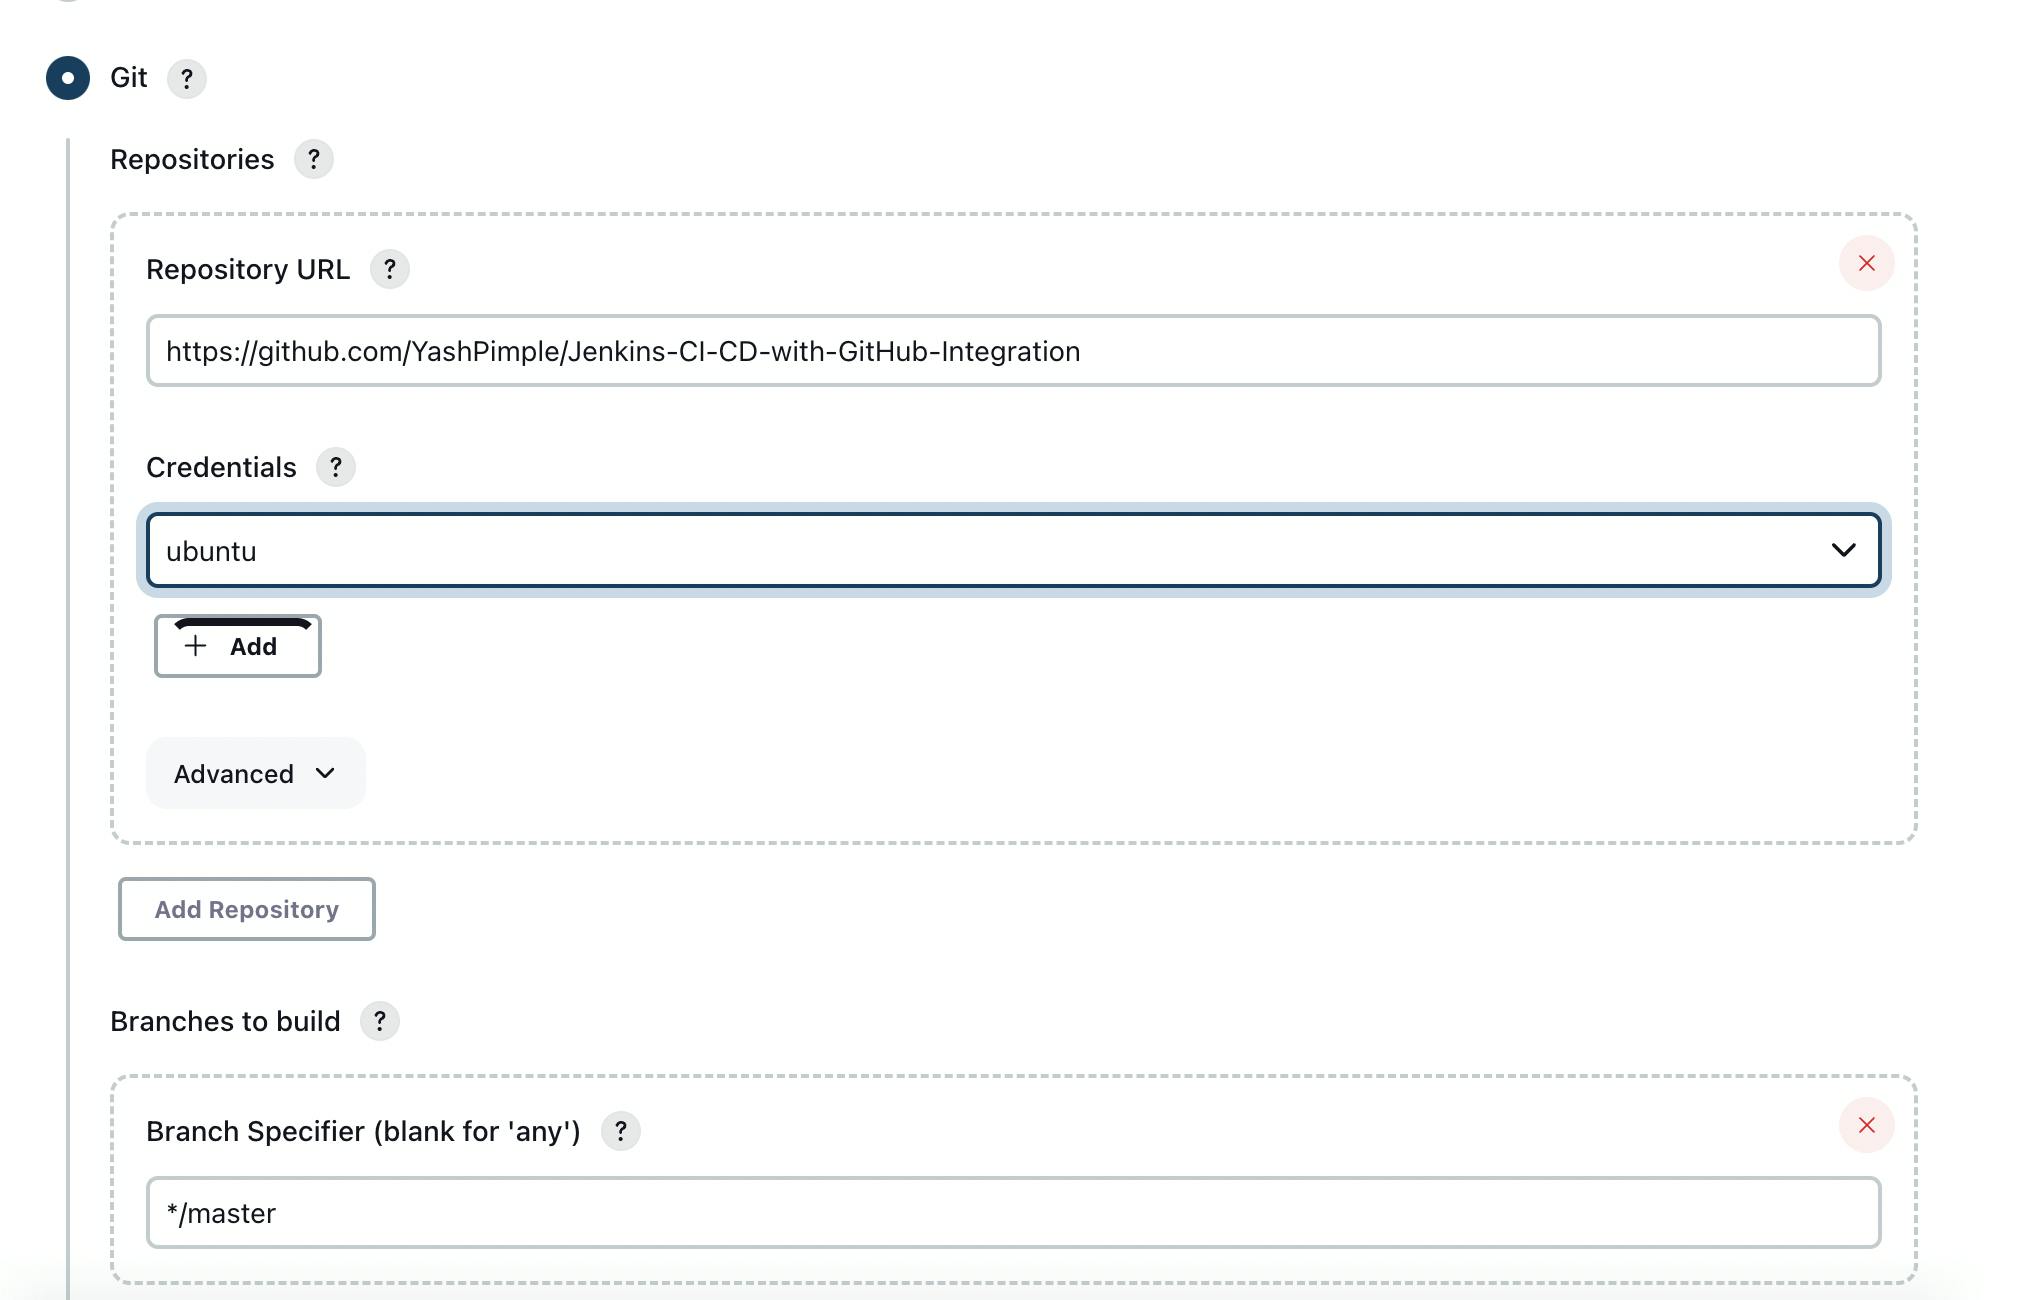
Give the Jenkins Project a Description after that add the Repo url "Github Link"

In the Source Code Management, choose git and enter the repository URL, by clicking on code.

Create a new credential by clicking on add and new pop-up screen will appear overhere Select kind to be "
SSH Username with private key", let the scope be global.
Further, add the Private Key generate in the instance and paste it over here and click on add button to save it.

After select the ubuntu credentials and Since all the code is in the master branch in the given project, we will use the master branch.
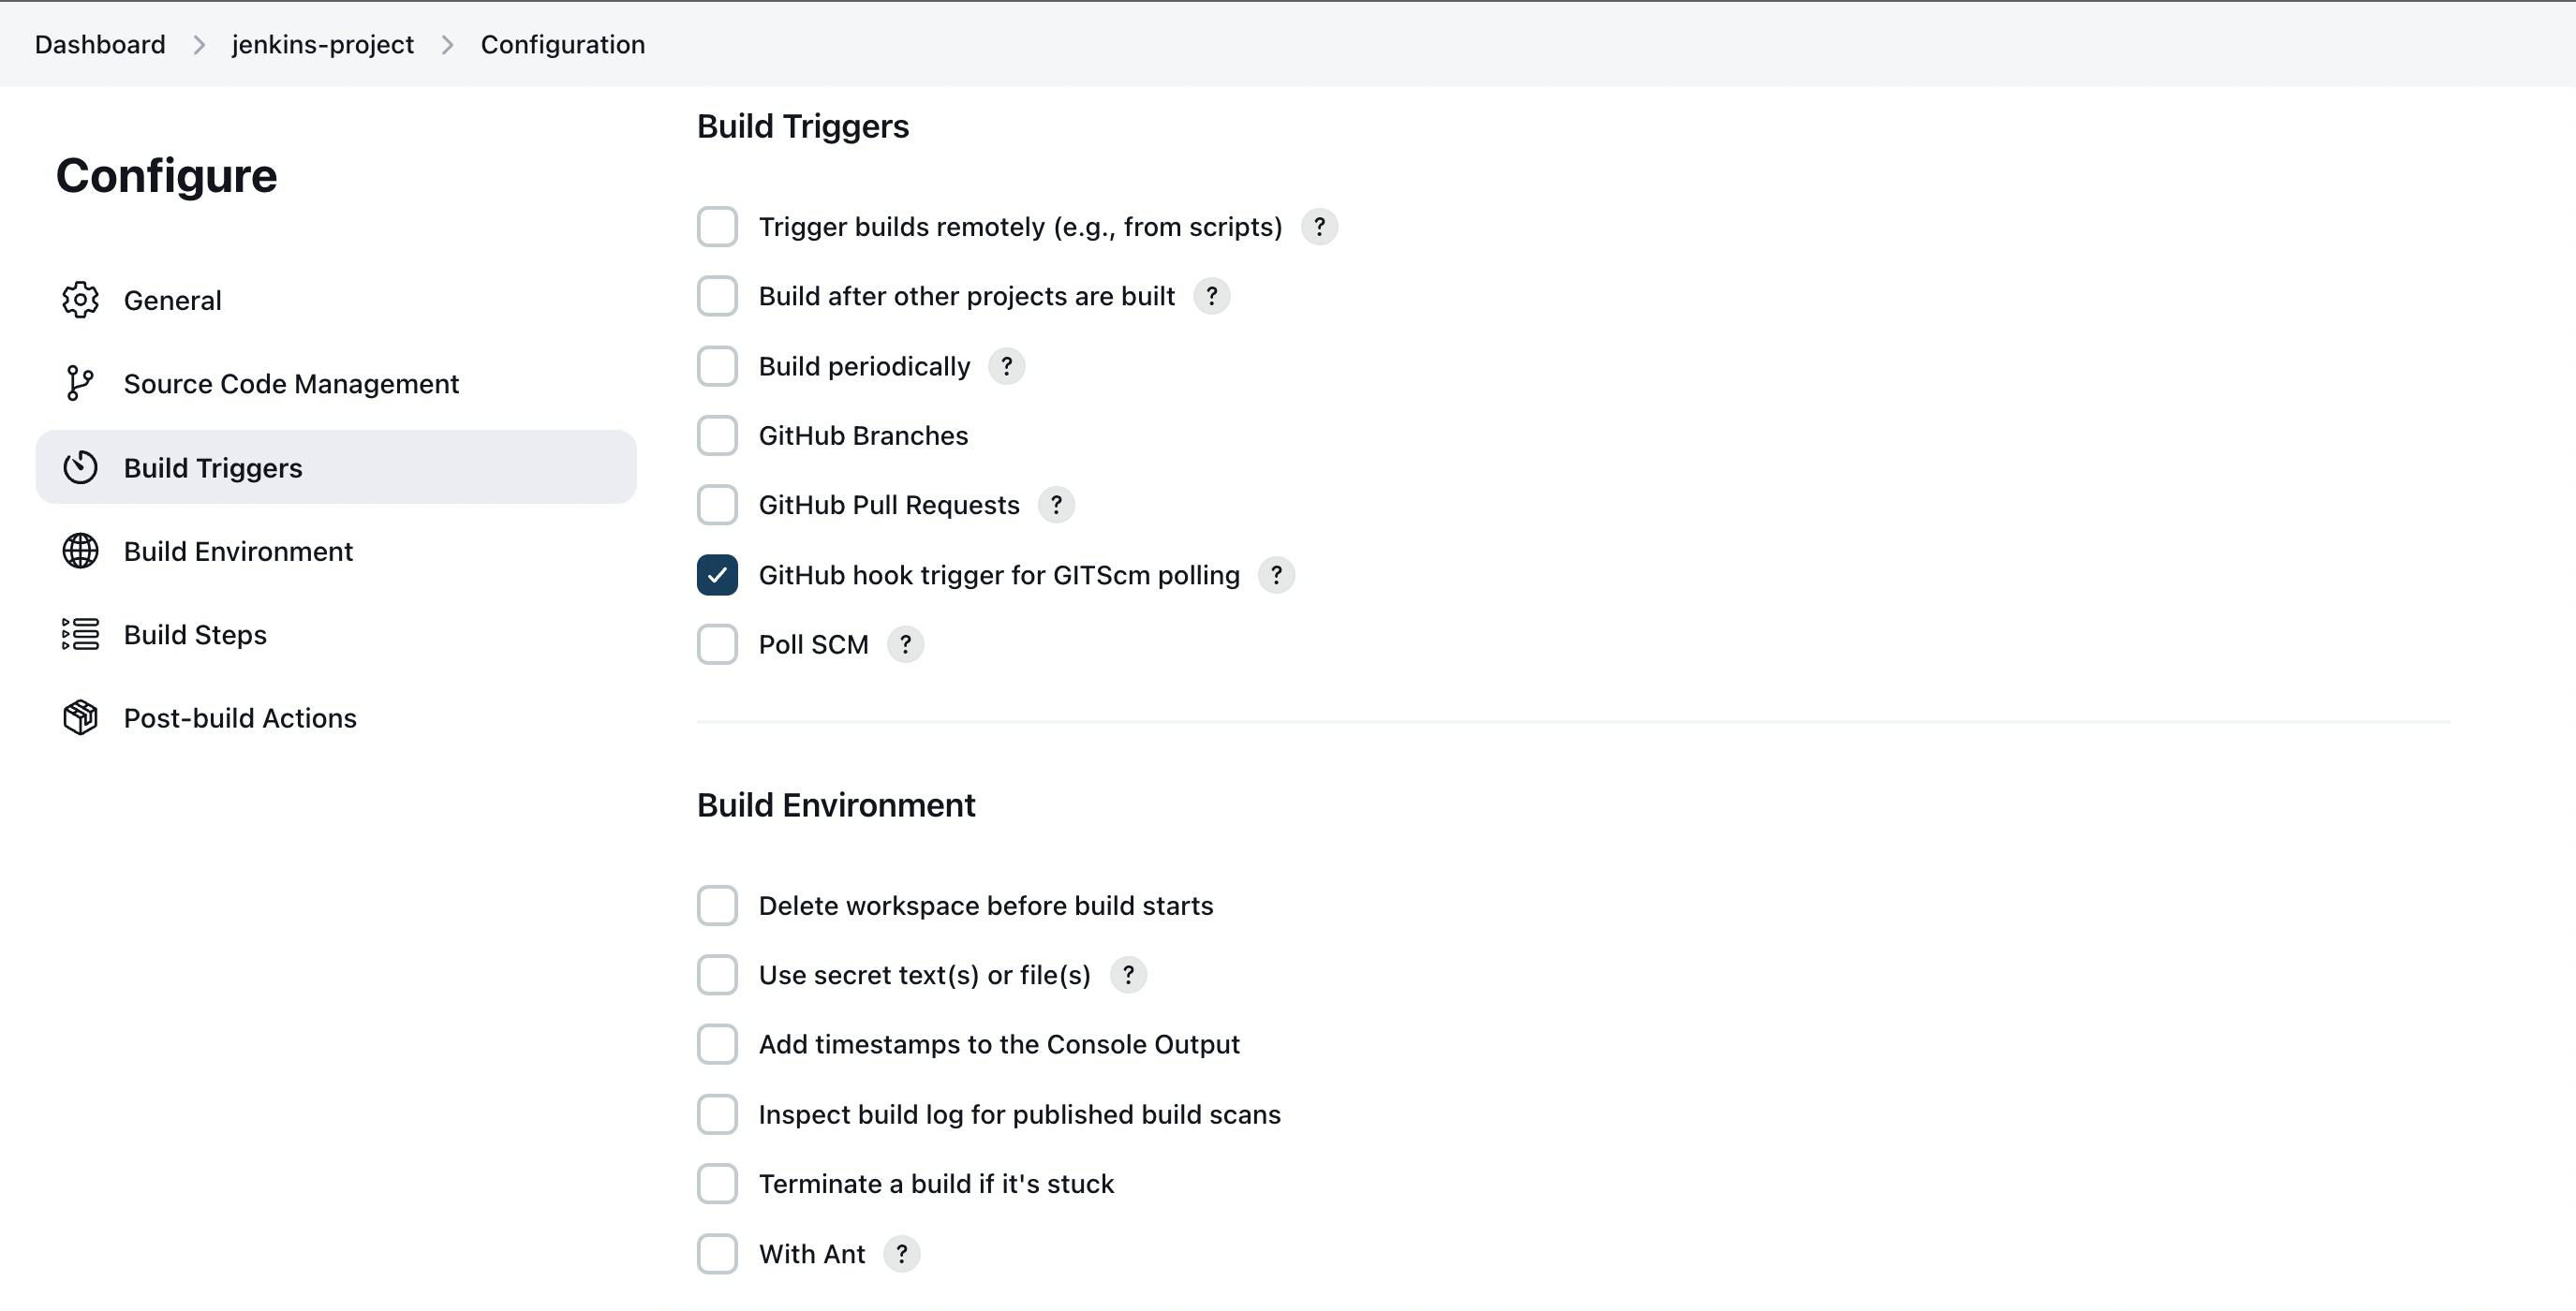
Here click on the "Github hook trigger for GITScm polling" tick is so the any chance made in the Github code base can be reflect over here and a new build can be executed for that we need to make a small change in our Project Repository and all this work is done by Github Webhook > Go to Project Repo Settings > Webhook > Add webhook
Over their you need to enter your this IP address with the port number, i.e., "
<ip_address:port_number/github-webhook/>"- "http://54.250.242.79:8080/github-webhook/" and select content type as "application/json" and click on "Add webhook"
Then let's go back to Jenkins Pipeline to work on the continuous deployment part for creating our docker image.
Now Let build steps to create our Docker container
Select Execute Shell and all the following CMD
  docker build . -t node-app-todo
  docker run -d -p 8000:8000 node-app-todo
Now save and click on “Build Now”


Yay! 🚀 that's a SUCCESS!

That's all for now. If you have any questions, please leave them in the comments section and I will do my best to answer them. Thanks for reading. Any feedbacks are welcome!! :). Connect with me on Twitter. Follow me for more such blogs on Hashnode.