


Why would you need to create your own image:-
Either you and your team decided to dockerize the application you're building for ease of shipping and deployment, or you were unable to locate the part or service you wanted to use for your application on DockerHub.
Creating your own image:-
First, we need to understand what we are containerizing, what application we are creating an image for, and how the application is built.
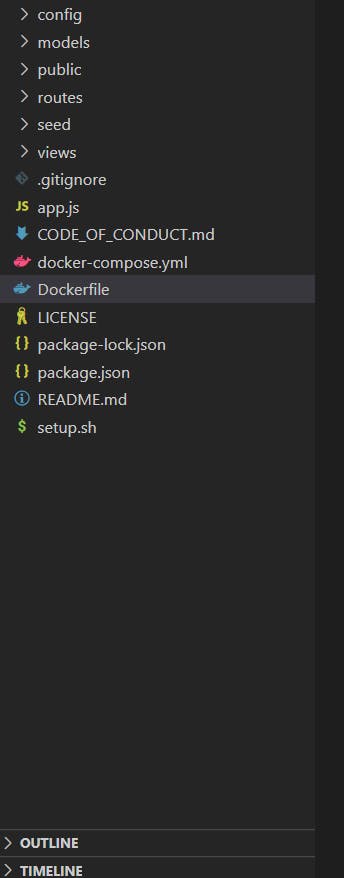
Step 1:- Create a file with the name "Dockerfile" in the project folder.
Step 2:- In the Dockerfile a simple instruction and argument approach is followed.
[instruction] [argument]
All the instructions are on the left and are typed in all caps. Each of these instructions instructs Docker to perform a certain action while creating the image.
Let's start from the beginning of the Dockerfile.
The first line contains the base image. Every Docker image must be based on another image. This means the installation of the base image is what we require in our image. So that when the container of our image runs we can access all the commands associated with the base image.
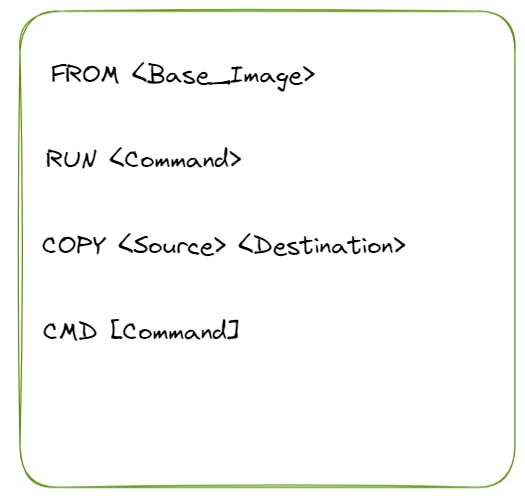
FROM <Base_Image>
"It is important that every Dockerfile must start with FROM instruction".
Step 3:- In this step RUN instruction is used. We add all the commands which install and update dependencies that are essential for our project to execute.
RUN <Command>
Step 4:- Now we use the COPY instruction to copy files from the local system into the docker image. This is done because the project that we want to execute is in our local system and we want to make our project available to the docker image.
COPY <Source> <Destination>
Step 5:- This is the final step in the creation of our Dockerfile. This step involves CMD instruction which stands for command and defines the command that will be run within the container when it starts.
CMD [Command]
The final file should look something like this:-
Step 6:- Now that we've finally completed our Dockerfile. It's time to build it.
To build it we'll use docker build -t my_app:1.0 <Location_of_the_Dockerfile>
Step 7:- The last step is to run the Docker image using docker run my_app:1.0
Congratulation you have successfully built your own Dockerfile and now it is running on your system.
Now try it for yourself and dockerize any project you want to. All the best.

Thank you for reading. Do leave a like or a comment if you found this blog to be helpful.
Feedback is highly appreciated.
Follow me on Twitter at sachintwts for more content like this.